How to Use
This guide explains how to use the platform’s core features for file sharing and URL shortening.
Uploading Files
To securely upload and share files, follow these steps:
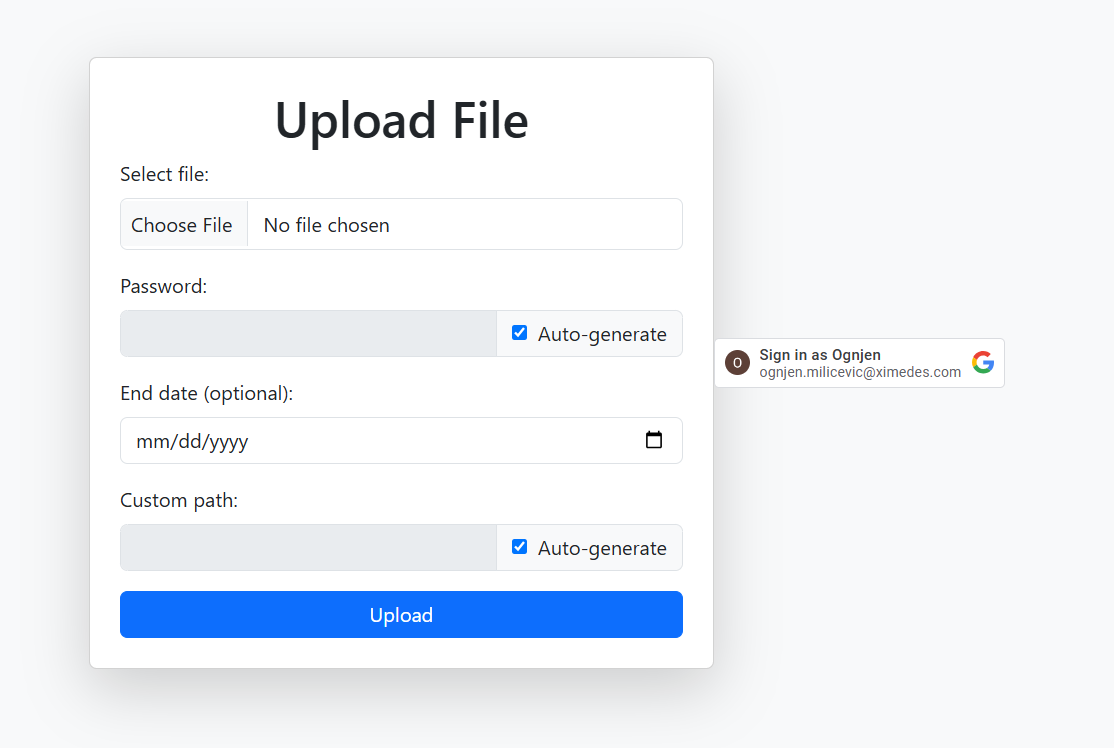
Access the Upload Page: Go to ximed.es/upload to view the file upload form.
Authenticate with Google: Click on the "Sign in with Google" button to authenticate. Only authenticated users can upload files.
Choose a File: Once authenticated, click on "Choose File" to select a file from your local system.
Optional Metadata: You can provide additional information for the file:
Password: Set a password for the download to enhance security.
End Date: This determines when the file will expire and be automatically deleted. The maximum end date is 3 months from the upload date, with a default of 4 weeks if not specified.
Custom Path: Customize the path under which the file will be hosted (e.g.,
ximed.es/path). If left blank, a random path will be generated, which may not always be convenient.
Upload the File: After specifying your options, click "Upload" to transfer the file securely to the server. Once the upload is complete, you’ll receive a link that can be shared with external recipients.
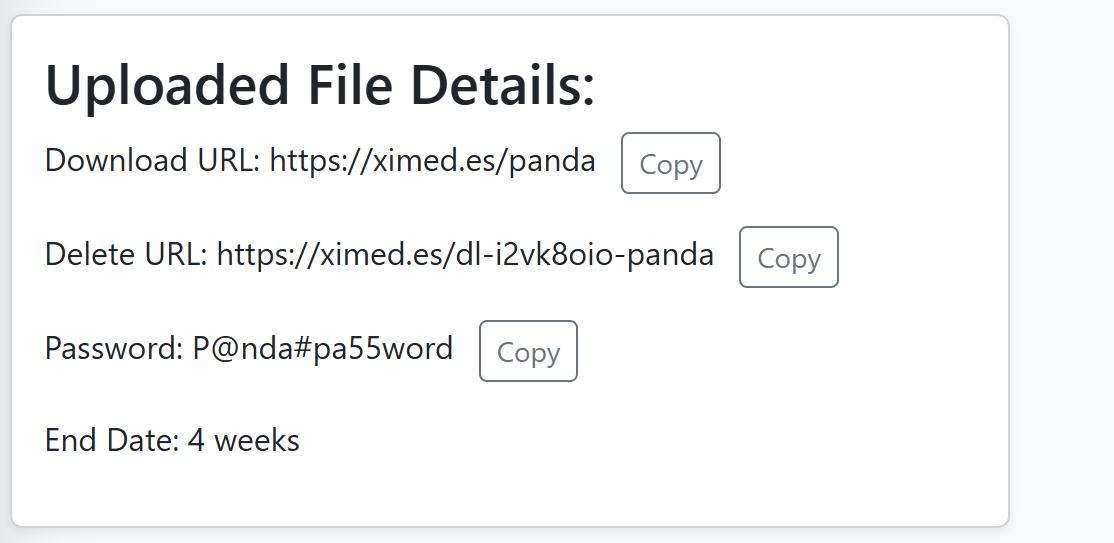
Receive Upload Details: Once the upload is complete, you’ll receive key details about the uploaded file:
Download URL: This link allows others to access the download page and get the file.
Delete URL: A unique URL that can be used to delete the file when it’s no longer needed. This URL should be treated as sensitive data by the user.
Password: The password for accessing the file, either custom or auto-generated.
End Date: The file’s expiration date, after which it will automatically be deleted from storage.
Downloading Files
To download a file, follow these steps:
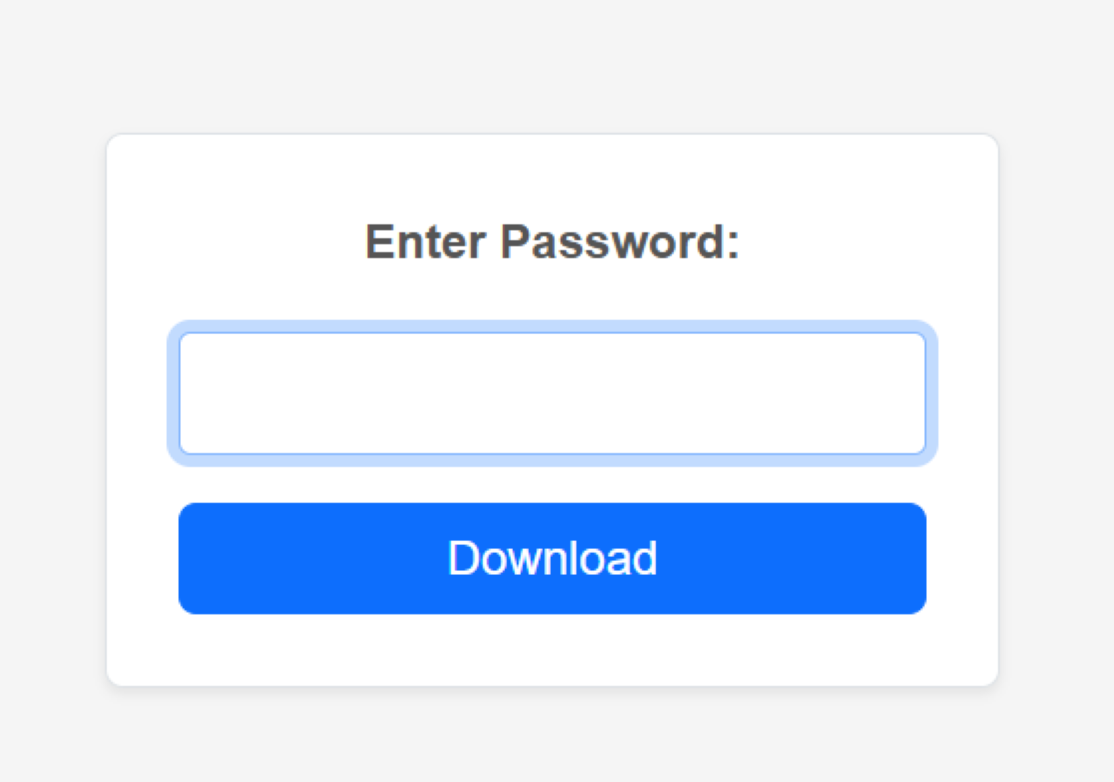
Visit the Download Page: Open the file's download URL provided after upload. For example:
https://www.ximed.es/pandaEnter Password: Type in the password associated with the file. Once the correct password is entered, the download will begin automatically.
Note: No additional authentication is required for downloading files. Anyone with both the download link and password can access the file, so it’s important to share these details carefully.
Creating Shortened URLs
Shortened URLs can be generated for easier sharing and a more professional look.
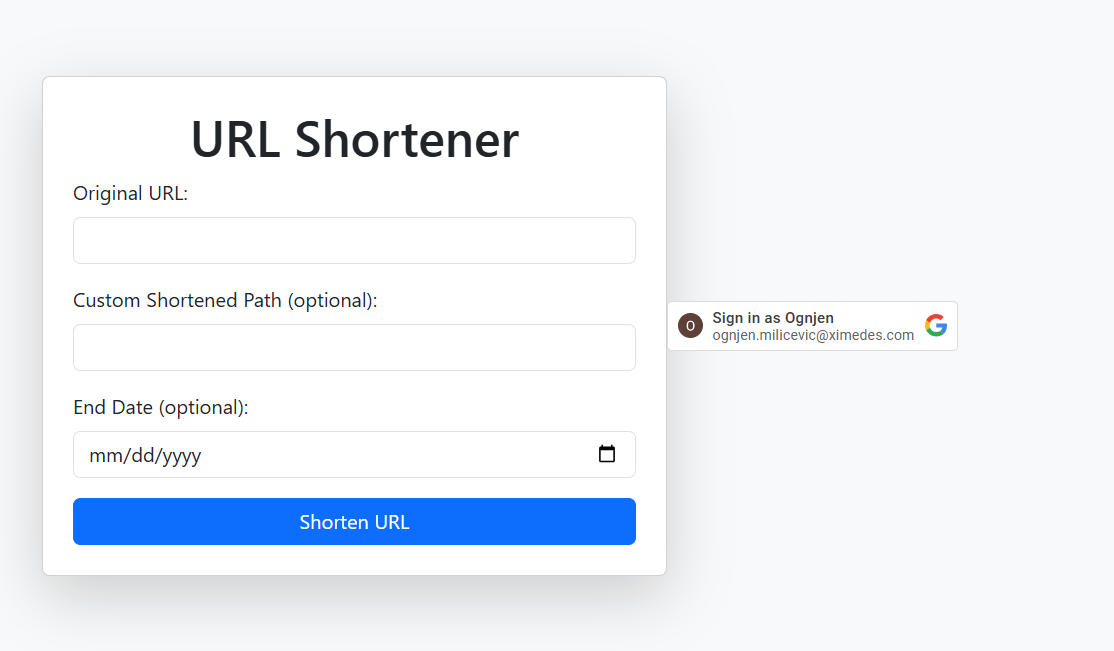
Access the Shortening Page: Go to ximed.es/shorten to view the URL shortening form.
Authenticate with Google: Click on the "Sign in with Google" button to authenticate. Only authenticated users can create shortened URLs.
Enter the Original URL: In the provided field, type the full URL you want to shorten (e.g.,
https://www.youtube.com).Optionally Set a Custom Path: You can specify a custom path for the shortened link (e.g.,
yt), or leave this field blank to let the system generate one for you.Optionally Set an Expiration Date: Specify an
endDateafter which the shortened link will expire. If you leave this blank, the link will be active indefinitely.Press the “Shorten URL” Button: Click the button to generate your shortened link.
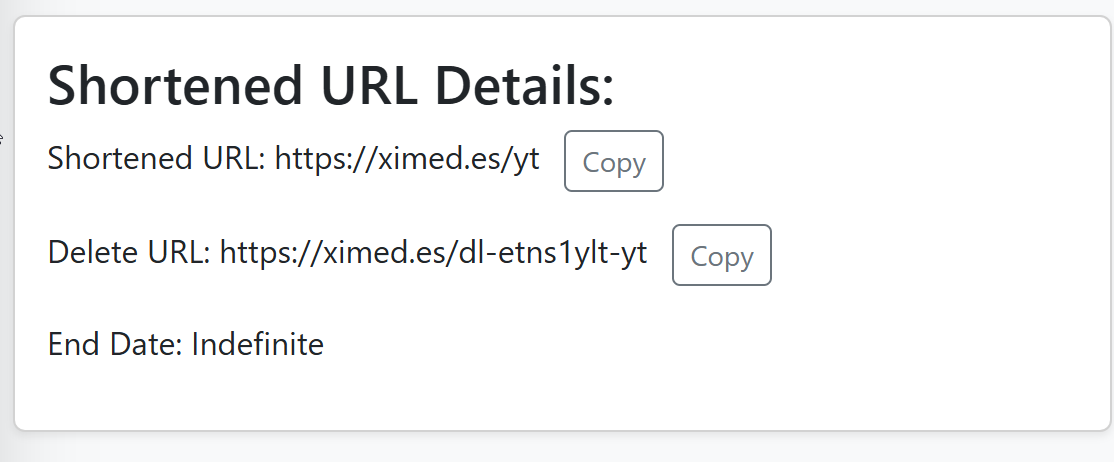
Receive Shorten Details: After pressing the "Shorten URL" button, you’ll receive key information about your newly created shortened URL:
Shortened URL: This is the link you can share with others for easy access to the original URL. For example:
https://ximed.es/ytDelete URL: A unique URL that can be used to delete the shortened link if needed. It’s important to treat this link as sensitive data. For example:
ximed.es/dl-7namfsbb-ytEnd Date: Shows the expiration date of the shortened URL. If you left the
endDatefield empty, it will display as "Indefinite" by default. This means the link will be valid until manually deleted.
Example: Indefinite (default if no date is provided)
Interesting Features
The platform includes several unique features to enhance file management and URL shortening functionality:
1. Implicit Directory Hierarchy in S3 Storage
When you upload files or create shortened URLs, you can specify a path that implicitly generates a directory hierarchy in S3. For example, if you create an object (uploaded file or shortened URL) with the path project_name/files/specification, the platform will create a directory structure in S3 that looks like this:
Deleting Files in Hierarchy
Using the delete URL generated for this file, you can delete only the specific file (e.g., specification in the above example). If specification is the only file in this directory hierarchy, the entire structure (project_name/files/specification) will be removed. However, if there are other files in the files or project_name directories, only the specified file (specification) will be deleted, leaving the rest of the structure intact.
2. Allow creation of open files
TODO...